
What an intraoral scanner does and when a practice should invest
If you have landed here, you likely do not need a “what is scanning” primer. You need the practical answer: when does intraoral scanning really make your day easier, your lab happier, and your remake rate drop?
This is the framework I would use to decide if I were running a full restorative and implant schedule. No hype, no scare tactics. Only what counts chairside and at the handoff to the lab.
The clinical view of an intraoral scanner
An intraoral scanner is more than “a digital impression.” It is a capture-and-check system that pulls your point of failure earlier in time.
With trays, failure tends to appear later: unclear margins, distortion, drag, voids, bite problems, collapsed soft tissue, or the familiar “it looked fine until the model was poured.” With a scanner, failure appears right away, while the patient is still seated. That is the heart of the value.
Most practices that love scanning are really loving one thing:
You can check quality in real time, then lock in a usable dataset before the patient leaves.
Where scanners earn their keep in everyday practice
Crown and bridge work
This is the daily workhorse. The payoff is not that scanning is faster in every case. The payoff is predictability:
You can confirm margin clarity and retraction results on the spot
You can fill in a missed interproximal or distal surface without a retake
The lab gets a cleaner starting file, which cuts down on follow-up questions
Implant restorative work
Scanning can work very well here, but implants reveal weak technique fast. Scan body seating, tissue control, capture strategy, and disciplined bite records all matter. Get those right and a digital workflow can cut down on late-stage “surprises.”
Ortho records, retainers, and follow-up
The overlooked benefit is repeatability. Take a baseline scan now, compare it later, make retainers without redoing records, and keep it all traceable. 🦷
Appliances such as guards, splints, and trays
This is where scanning often turns into an operational edge. Reorders are simple when file naming and storage are disciplined, and patients usually find the visit more comfortable too.
Tray impressions and why they still matter
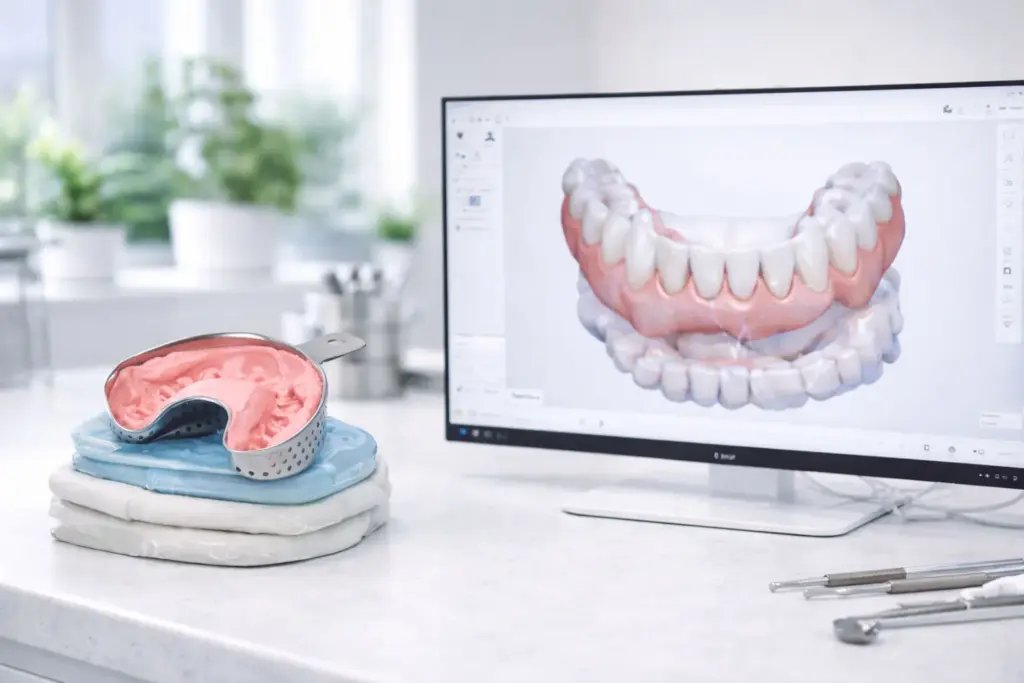
Tray impressions still work, and skilled clinicians get excellent results with them. The problem is the operational overhead:
Material and tray variability
Late feedback on quality
Risk in transit and handling
Remakes that land after the schedule is already booked
A frequent compromise is to send tray impressions to the lab and let the lab digitize them. That produces a digital file, but it keeps the physical impression step and every way it can fail.
What actually drives the switch
This is the candid list I hear most often from practices that switched and stayed:
Fewer return visits caused by “impression problems.” This one matters a lot for a sane schedule.
Clearer lab communication. Less guesswork, fewer calls to clarify.
Quicker path to fabrication. Not always same-day, but fewer delays.
Better conversations with patients. A 3D model on screen shifts how patients see value.
None of this happens on its own. Technique and standards still count, but scanning makes a dependable system easier to build.
When to buy, in practical terms
Timing decides everything. Buy too soon and it turns into a costly “occasional tool.” Buy when the practice is ready, and it becomes the standard route.
1) Your case mix supports daily use
The best rule of thumb is not “we do crowns.” It is “we have cases suited to scanning nearly every day.”
If you regularly handle any mix of:
Indirect restorations
Implant restorative work
Retainers and ortho records
Oral appliances
…then your team will build muscle memory quickly, and scanning turns routine instead of stressful.
2) Retakes and remakes are a real burden
If any of these keep happening:
The lab asking you to clarify margins or the bite
Retakes that eat into chair time
Remakes that seem preventable
“We’ll just take another impression” turning into a habit
…then scanning usually means less chaos overall.
3) Your lab is set up for digital intake
Before buying, ask your lab what “good” means to them.
A quick checklist for your lab:
File formats and upload method they prefer
What they expect on margin clarity and QC
For implants: their scan body libraries and capture needs
How they want the bite recorded and checked
If the lab is not ready, scanning can still work, but it will feel like pushing uphill every day.
4) Your team will commit to a standard technique
Scanning depends on technique, but it can be learned. What sinks adoption is not difficulty. It is inconsistency.
Keep the adoption plan simple:
Start with 1 or 2 lead users
Set a scan path for the cases you see most
Write a short QC checklist
Review the first 20 cases, then adjust
Practices that do this ramp up fast. Practices where “everyone scans their own way” end up blaming the device.
5) Your setup matches how patients move through rooms
A wireless mobile unit and a cart-based station both fit, depending on how your practice runs.
Ask:
Do you scan in several rooms and move all day?
Would you like a fixed presentation station with a large screen?
Should the scanner be “pick up and go,” or “always parked in one place”?
If you are considering a wireless workflow, our dental implants page shows how our team plans and scans implant cases with a wireless scanner, a good example of a modern mobility-first setup.
What to check before you commit to a scanner
Accuracy and speed, measured the right way
Spec sheets do not help much unless they match your cases. During a demo, test real-world scenarios:
A posterior crown prep with moisture problems
Capturing subgingival margins after retraction
A bite record that needs a stable occlusion
An implant scan body capture routine
If the system makes problems easy to see and quick to correct, you will notice it in your schedule.
Software usability and QC flow
What counts most is not the rendering. It is quality control.
You want a workflow that shows clearly when:
There are holes
Stitching has gone wrong
More distal capture is needed
The bite looks doubtful
Good software makes QC quick and dull. Dull is good.
Infection control
This is operational and not optional. Sterilizing and rotating tips, and knowing who owns each hygiene step, all matter. A clumsy process lowers adoption.
The decision framework I really rely on
Buy now when:
Cases suited to scanning come up most days
Retakes and lab back-and-forth keep draining your time
Your lab can take in and work with digital files smoothly
Your team will stick to a standard workflow for the first few weeks
Hold off if:
You do few indirect cases and appliances
Your lab is not ready and there is no plan to fix that
You are buying mainly because “digital is the future” and have no workflow plan
A rollout plan you will not regret
Week 1: Master one workflow
Begin with simple single-unit crowns or routine appliance cases.
Lock in the scan path and QC checklist before anything else.
Week 2: Add harder cases
Bring in implant scans or ortho records when the team is steady.
Week 3: Make it the default for suitable cases
Optional tools tend to stay optional. If you want a return, scanning must be the default where it fits.
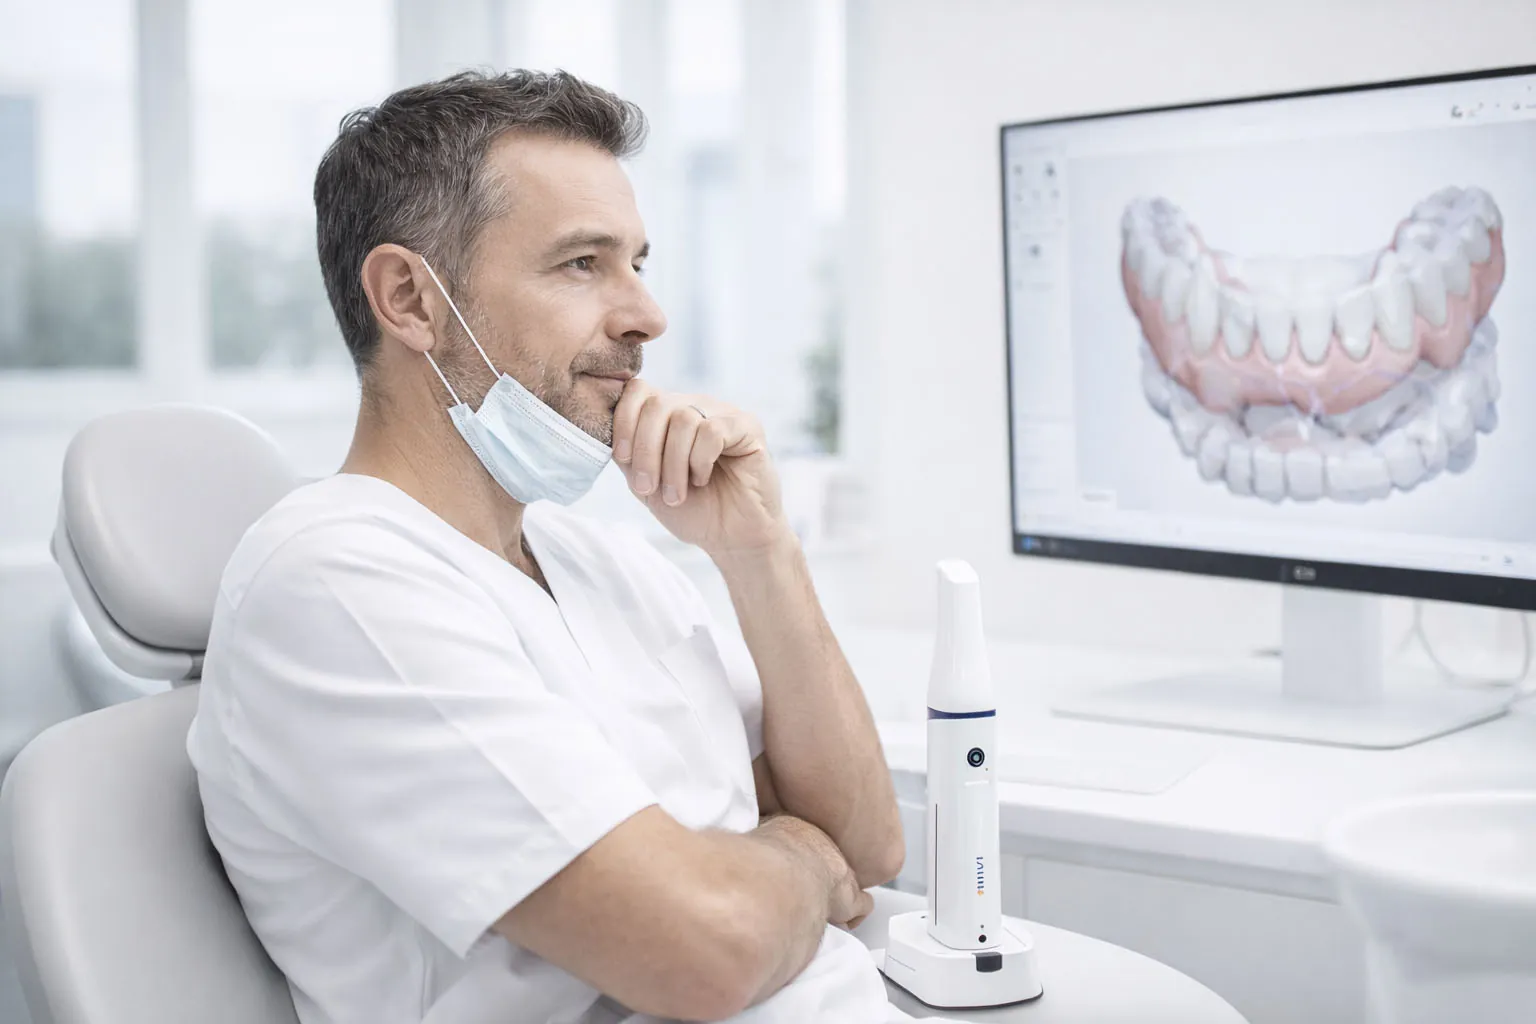
For a look at a cart-based approach, our dental prosthetics page explains how we use a “dedicated station” setup, where a large display makes patient reviews and team handoffs easier on crown and bridge cases.
Final checks before you purchase
Confirm how your lab prefers to receive digital cases
Name the 3 case types you will scan most
Pick 1 or 2 people to own training and standards
Choose mobile or station based on room flow
Settle on one consistent way to name, store, and export files
Where to start
If you want to decide quickly, do not begin with the price. Begin with how it fits your workflow.
Bring one typical case you handle every week (crown, implant, ortho records, appliance), run a demo, and judge the system by how quickly you can confirm quality and finish a clean handoff. If that part feels easy, the rest usually falls into place.