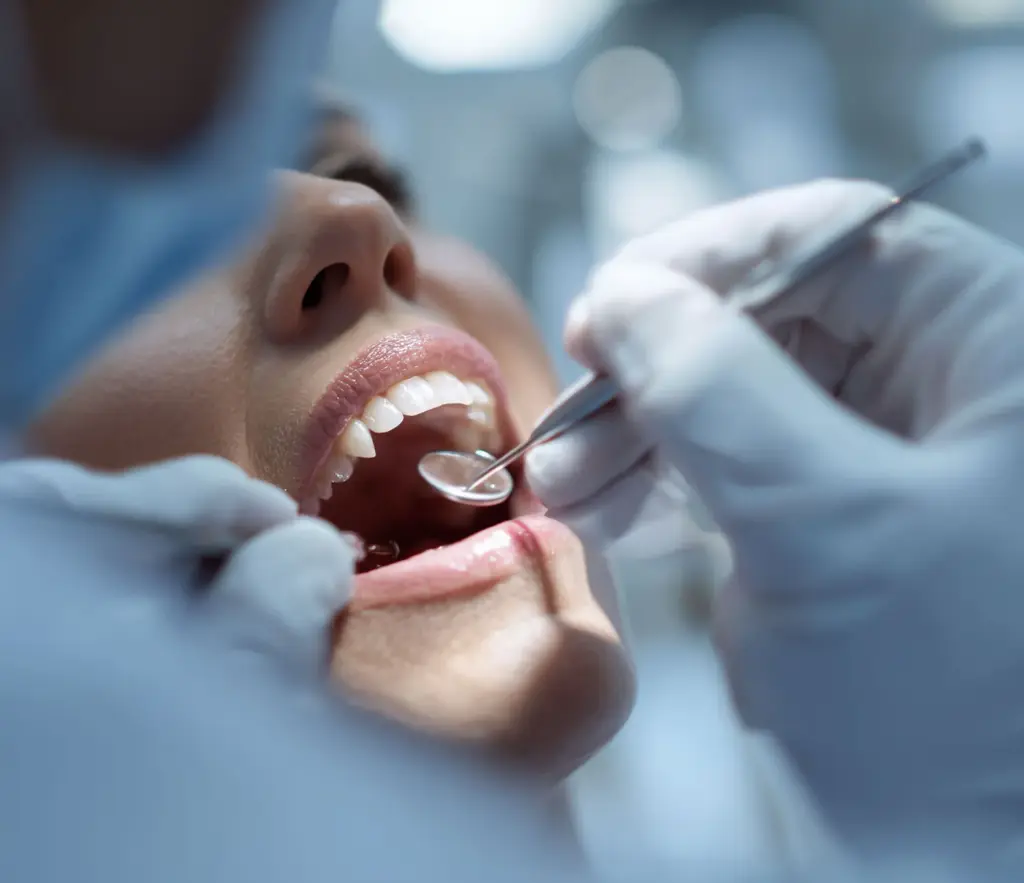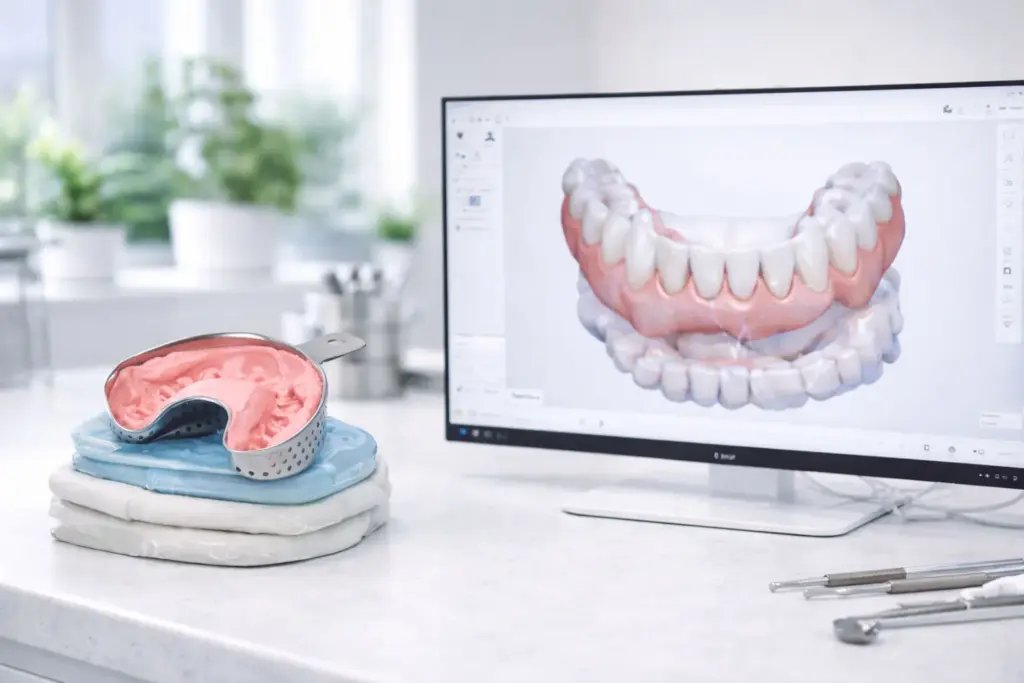

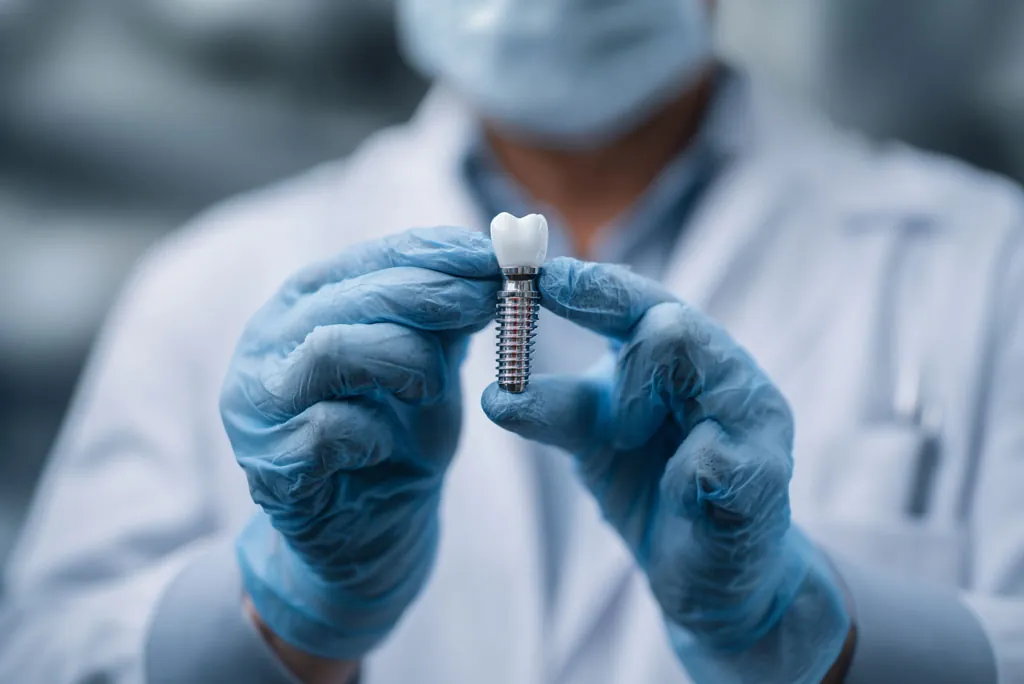
Implant cases are where intraoral scanning stops being a “nice extra” and turns into a blunt diagnostic tool.
With crowns and bridges, an average scan can still get by if the prep is clean and the lab is patient. With implants, weak technique shows up quickly: rotated scan bodies, distorted soft tissue, a noisy bite, and files that “look fine on screen” but become frameworks that don’t fit. The upside is that once your team is disciplined, digital can cut down on surprises late in the process, shorten turnaround times, and make results more predictable.
This is a hands-on walkthrough, not theory. The aim is simple: send a scan the lab can trust without needing to call you back.
Why implants gain more from scanning than most cases
Implants are a geometry puzzle with soft tissue on top.
A scanner helps because it gives you:
Instant visual confirmation of scan body capture and tissue contours
A consistent record you can return to for second stage, provisional changes, and finals
Quicker feedback with your lab when something is wrong (and the chance to fix it before the patient goes home)
But scanning helps only when you treat it as a protocol. Otherwise you simply swap impression errors for scanning errors.
The mindset change: you are recording three things, not one
With implants, think in three layers:
Where the implant sits (scan body shape and orientation)
The soft tissue (emergence profile, papillae, collar shape, mobile mucosa)
The occlusion (a stable bite relationship, little noise, consistent closure)
Most remakes trace back to one layer being overlooked for another.
Step 0: A pre-scan checklist (it prevents 80% of “mystery problems”)
Before scanning even begins, confirm:
A matching scan body for the implant system and platform size
Full seating of the scan body, torqued to spec
The scan body is clean and dry (blood and saliva wreck the capture)
The soft tissue is stable enough to record (you may need to stop and control bleeding)
You already know what the case is: implant crown, bridge, bar, hybrid, provisional, and so on.
If the scan body is not seated, nothing after it matters. Make “seated and confirmed” a step you never skip.
Step 1: Planning the scan body capture
A scan body is not “just one more surface.” It is your reference geometry.
A common early error is scanning the full arch first, then “drifting” back to the scan body. That raises the risk of tracking drift and incomplete capture exactly where you can least afford it.
A stronger sequence:
Set up tracking on stable landmarks close to the implant site
Capture the scan body deliberately, from several angles
Extend to the adjacent teeth and arch
Go back to the scan body to verify and clean up where needed
Notes on technique
Around the scan body, move more slowly than feels necessary.
Hold a steady distance. Too close and you lose tracking. Too far and you get noise.
Don’t settle for a scan body that looks “mostly complete.” You want sharp edges and a clean surface.
If your software includes any scan body verification tools, use them. If it does not, your check is visual: sharp geometry, no “melted” edges, no missing flats.
Step 2: Recording soft tissue in a way the lab can use
Implant success is often a matter of emergence profile. Capture tissue poorly and the lab has to guess. Guessing brings chairside adjustments, pressure points, and aesthetic trade-offs.
What the lab needs depends on the type of restoration, but usually you want:
A clean record of the tissue collar around the implant site
Nearby gingival margins and papillae
Enough of the surrounding anatomy to design contacts and contours well
Hands-on tissue tips
A dry field and good retraction matter more here than on tooth-borne work.
If the tissue moves, record it while it is stable. Retract gently, then scan.
If you scan right after uncovery, bleeding will spoil the scan. Take the time to get it under control.
Often the most “efficient” choice is to slow down for 60 seconds and get the field stable. It saves 30 minutes later.
Step 3: Neighboring teeth and contacts
Even for an implant crown, the teeth on either side limit the design. Labs need clean contacts and occlusal surfaces to avoid high spots and open contacts.
In the scan, focus on:
Proximal surfaces nearby
Occlusal anatomy of the opposing teeth near the implant
Enough of the arch for the lab to orient the case with confidence
Not every case needs a full arch, but every case needs enough context to keep the design unambiguous.
Step 4: A clean, noise-free bite
Implant scans often fail quietly at the bite. You can capture a perfect scan body and still spoil the case with a distorted bite record.
Helpful rules:
Record the bite in a steady, repeatable closure. No sliding, no “feels about right.”
Keep the bite scan small and centered on the restoration area.
If the patient’s occlusion is unstable, take several bite records and compare them.
If the articulated view shows occlusal collisions or strange gaps, don’t “trust the lab to sort it out.” Fix it now.
Step 5: A check before export (the 2-minute safety net)
This is where experienced teams pull ahead. Before exporting, run a quick check:
Scan body: sharp, complete, no warped areas, clearly separate from the tissue
Tissue collar: recorded with no holes, especially at the implant site
Contacts: neighboring proximals are clear
Opposing: sufficient anatomy on the opposing arch
Bite: looks believable, no strange gaps or collisions
If anything is wrong, fix it while the patient is still seated. The strength of digital is that you can correct on the spot.
Step 6: A lab handoff that cuts back-and-forth
Even a clean scan can cause trouble if the lab doesn’t know what you intended.
Add a short “lab note” every time. Use a template so your team will really use it.
The minimum useful info:
Implant system, site, and platform details where relevant
The scan body used
Restoration type (screw-retained or cement-retained, emergence preference, etc.)
Occlusion notes (if the bite is tricky, say so)
Aesthetic notes and shade details if needed
Any special limits: restricted interocclusal space, a neighboring implant, tissue concerns
The lab is not looking for a paragraph. It wants certainty.
The most frequent implant scanning mistakes and how to prevent them
1) Unseated scan body
Fix: confirm seating by feel and by sight. Do not scan until it is confirmed.
2) Scan body wet or dirty
Fix: keep it dry, keep it clean, control bleeding.
3) Partial scan body geometry
Fix: slow down, add more angles, check edges, rescan early.
4) Recording tissue while it is unstable
Fix: stabilize the tissue first. Gentle retraction, a dry field, then scan.
5) A contaminated bite
Fix: focused bite scan near the site, repeat if unstable, check the articulation.
Where digital truly improves results
The true benefit is not that scanning is “faster.” It is that every scan can be audited.
It lets you:
check capture quality as you go
set one standard for “good” across the whole team
cut remake cycles by catching mistakes in the chair
speak to your lab with more precision
If you are building a digital implant workflow around a wireless intraoral scanner, the goal is repeatability: predictable scan body capture, consistent tissue records, and a bite that never surprises anyone.
Get that right, and implants become less about heroics and more about process. That is when remakes fall and confidence rises.