
How scans carry an aligner case from first consult to delivery
Most aligner “problems” are really record problems. The planning software takes the blame because it is the part everyone sees, but the cause usually sits earlier: incomplete capture, inconsistent bite records, loose soft tissue control, or a team routine that treats scanning as a quick admin chore.
If you want fewer refinements, fewer surprises halfway through, and fewer “this tray just isn’t tracking” talks, you do not need a more elaborate aligner system. You need a dependable scanning protocol and a consistent handoff from consult to delivery.
Here is a way to think about scanning across the whole aligner journey, and what to standardize so the process stays smooth.
What scanning takes over, and what it can’t
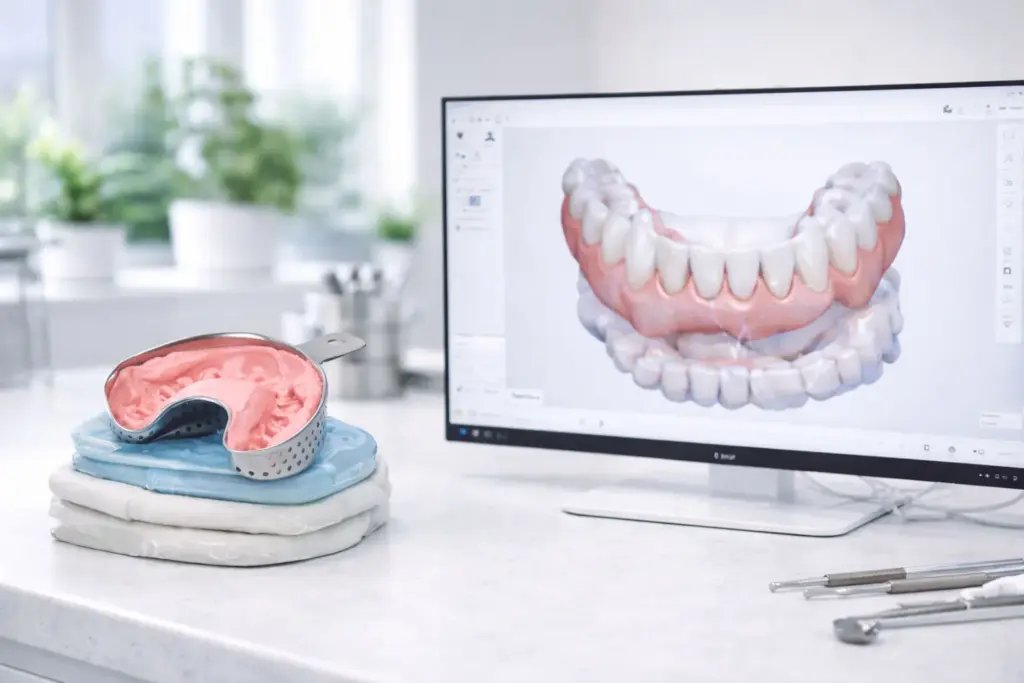
Scanning removes the risks of physical impressions: poor tray choice, distortion, bubbles, shipping delays, and the uneasy gap between “we took an impression” and “what the lab actually receives.”
It does not take the place of clinical judgment or the rest of the records. You still need good photos, a bite approach you trust, and a team that can control moisture and retraction. Digital impressions are not magic. They are just a quicker route to a model, and they magnify good and bad habits alike.
If your team understands that, you are already ahead of most practices bringing intraoral scanning into aligner care.
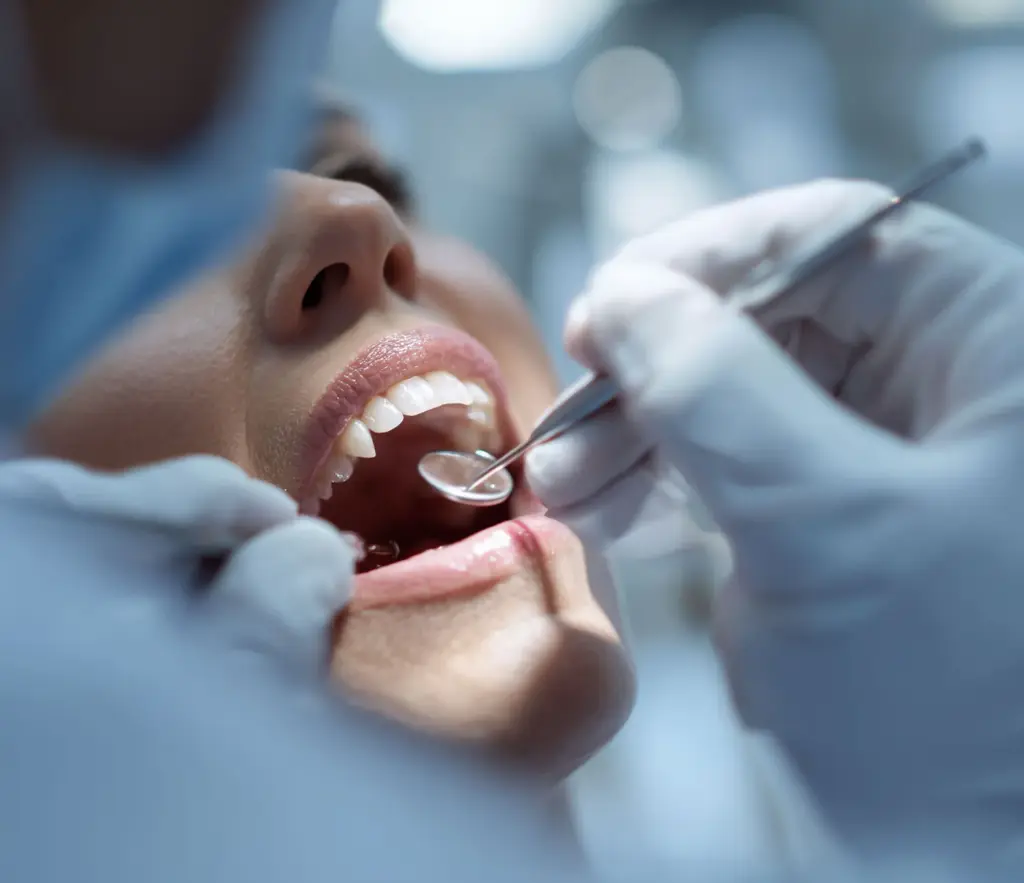
Stage 1: First consult and records (where results are decided)
A clean first scan is not about speed. It is about making planning uneventful. When the scan is dependable, the plan becomes less “interpretation” and more “execution.”
What an aligner record set needs to achieve:
give the planner a faithful picture of the clinical crowns and the gingival third
show reliable interproximal anatomy so staging and IPR choices are not a guessing game
capture an occlusal record that reflects reality, not the patient’s posture of the moment
If you want the same record set from everyone on your team, run it like a checklist, not a feeling. It can stay simple:
Full upper arch scan
Full lower arch scan
Bite scan at MIP
Intraoral photos (at minimum retracted and occlusal)
Notes on restorations, missing teeth, any bonded retainers in place, and planned extractions or IPR preferences
That final item seems “administrative” until you notice how often attachments, staging, and refinements trace back to basic case details that never reached the submission.
Scan quality targets that matter most for aligner cases
Restorative scan failures are usually easy to see. Aligner failures can be quiet and surface later as tracking drift. For aligners, the targets I watch are:
Complete capture of posterior distal and occlusal surfaces, especially 7s
Clean anterior interproximal capture so contacts are not blurred or “bridged”
Detail in the gingival third, where trim lines and attachments come into play
No sizable voids or holes that leave the lab rebuilding anatomy
The “predictability” promise of scanning holds, but only when capture quality is consistent. If scan quality depends on who holds the wand, you will still land in refinement territory. You’ll just arrive sooner.
A scan sequence that keeps the quality steady
You don’t need an elaborate technique. You need a consistent one. The best protocols are plain enough that any trained team member can run them under pressure.
A simple order that usually works well:
Begin on the posterior occlusal to get stable tracking
Move through the anterior at a steady, calm pace
Record palatal or lingual surfaces with steady retraction and a dry field
Finish buccal, then fix weak areas right away
Take the bite last, once both arches are clean
The habit to change is this: do not accept weak areas “because we are behind schedule.” The biggest strength of digital scanning is that you can fill gaps right away. Use it. Fix the scan while the patient is still seated and cooperating.
Stage 2: Planning and the lab handoff (where friction piles up)
After the scan, the case turns into a file workflow. This is where practices either gain efficiency or invent new chaos.
The aim is not simply to export a file. The aim is to export a file that triggers no follow-up questions.
A good handoff usually contains:
a clean export in the format your lab wants (STL is standard; some systems also take PLY or OBJ)
file names consistent enough that a mislabel is close to impossible
short but useful clinical notes that keep the lab from guessing
File naming seems minor until several cases are in progress and a coordinator is chasing updates. If you want a system, try something like:
PracticeName PatientID ScanDate Arch
Keep notes brief and clinical. For example: “lower 3-3 bonded retainer in place”, “large posterior restorations”, “IPR probably 13-23, minimal”, “attachments fine”, “please monitor overjet change”. Not a paragraph. Only the context that changes the plan.
Before you press send, a 15-second QC check pays for itself. Ask:
Is each arch complete, with no major voids?
Were distal surfaces recorded?
Do front margins look real, not smeared by saliva?
Does the bite look believable?
That final question is the one that silently derails aligner workflows. Bite capture mistakes are an overlooked cause of odd plans.
Stage 3: Progress scans (turning aligners into a control loop)
Most practices scan at the start and the finish and treat the middle as “hope and compliance.” That works until a case drifts. Progress scans let you assess tracking objectively and stop losing chair time on guesswork.
Progress scans are worth it when:
tracking looks marginal and you need to choose between continuing and refining
attachments have been placed and you want to confirm they engage the way you expect
you are midway through and a rotation is not following staging
you want to confirm the finish before committing to refinement decisions
Here is the quieter benefit: progress scans sharpen your team’s conversations. Instead of “it looks off,” you can point to a specific area, compare baseline with current, and decide whether the problem is seating, attachment engagement, bite posture, or a movement plan that was unrealistic.
It also cuts down on emotional decisions. Teams refine too soon or too late because the workflow has no objective checkpoints.
Stage 4: Retainers (where scanning quietly pays you back)
Retention is where scanning shines in a way that rarely gets credit. The value is not only speed. It is repeatability.
With a final scan on file, you can make retainers without new records, replace a lost retainer quickly, and keep a baseline for later comparison. That makes retention feel calmer for both the practice and the patient.
Retainers are also where “digital recordkeeping” becomes concrete. If you can open a baseline scan and compare it with a follow-up months later, relapse becomes something you measure rather than argue about. That shifts how you talk with patients and how you plan retention protocols.
The team routine that really keeps cases moving
Most aligner workflow problems come down to coordination, not clinical complexity.
For a smooth process, assign an owner to every step. Ownership matters even when the practice is small.
A simple split that works:
The assistant handles setup, retraction support, and scanning if trained
The dentist handles clinical sign-off, bite checks, and case notes
The coordinator handles submission, status tracking, and scheduling around the plan
Then write a brief SOP and post it where your team will really see it. It does not need to be a full manual. It needs to be specific enough that any two staff members would do the same thing.
Sample SOP:
Prepare patient, retract, dry
Scan upper, then lower, fill weak zones
Scan the bite, check it is plausible
Run QC, then export
Send with photos and notes
Note the submission in the patient timeline
Do that every time and the result is very predictable: fewer resubmissions, fewer questions from the lab, and fewer panics halfway through treatment.
Common failure points behind refinements (and how they come about)
Many practices blame “complex cases” for refinements. In fact, refinements usually come from a handful of repeat issues:
A bite scan taken with a slight opening or shift because the patient was not coached and steadied
Missing distal capture on posterior teeth that forces a rebuild
Saliva artifacts in the gingival third that distort margins and the aligner trim
Thin interproximal detail that makes contact assumptions shaky
No consistent notes with submissions, so planners make cautious or wrong decisions
The frustrating part is that none of these are “hard.” They are procedural, and procedural problems can be solved.
What to measure so you can tell your scanning workflow is improving
For a clear feedback loop, keep track of two numbers:
Refinements per 20 aligner starts
“Records resubmitted” events per 20 cases
The second number is the quickest signal of scan quality and team process. When resubmissions fall, everything after them gets easier.
When you treat scanning as a core clinical skill, aligner workflows no longer feel like a fragile chain. They start to feel like a system, and that is the real upgrade.